HTML/JAVA

Showing posts with label collage. Show all posts

Monday, 24 March 2014

Studio Peak

This is a piece that started to develop when my husband, Chris, gave me some metal out of his studio's wood stove.


It's the cutting strip from a celophane box. I had some bark that had already been prepared with paint & encaustic and going through the offering bowl had my creative juices going. So I have a general layout & now this piece is in the beginning stages of preparing the background.

Monday, 12 August 2013

Beading...beading...BEADING

Here's more eye candy from my Turkish piece. I've been beading most nights and quite a few hours on the weekends & I'm only getting close to half way.


I have deadlines on other projects and I'm having trouble getting to them. Once the beading begins there is a mountain of beads & threads on my work surface. Having to clear everything away in order to get my mind set on something else is very difficult for me. This is all I think about in the studio...at least for the time being.

Monday, 15 July 2013

Extreme Beading

My Turkish camel piece is still being worked on. As you can see the beading has begun.  This piece has been in stages for nine months now. I had a full Saturday in my studio when I had set everything up to start quilting it. Well...you know what they say to best laid plans...it didn't work out very well. I've elaborated below if you're interested.


This project just didn't want to be machined. I did something that I never do. I stitched & ripped out all day long. Every time I started I would end up ripping it out. This was my whole day in the studio. Then I just decided that this piece just didn't want to be machine quilted. So now it's all up to hand embroidery & beading. Oh my goodness it'll be many more months before it's completed.
I asked my husband to source out an audio book for me so that I could be in my studio quietly so as to not disturb my son. This is also something that never happens. I love music in the studio...something that I don't think about...just work through. The next Saturday in the studio was very rewarding. I can't sit or stand for great lengths so I break it up and do many things during the day. I was very happy with the beading and Sunday morning I thought that I would quietly slip back to the studio for another day of audio & hand work. To my surprise, my audio book was complete within minutes. I actually burned through 10 hours of audio on Saturday without having any clue as to the amount of time spent. I was literally shocked. I have never counted time in the studio so I was completely clueless. The next shock...was how little seems to be done. I still have over 3/4 of the project to go through. The picture doesn't show the whole of the beaded area...just a taster.

Sunday, 24 March 2013

Letters From Abroad

This quilt was made for my husband. It's been at least 15 years in the making & it's finally done. It all started when I was on my first Brampton Quilters Guild retreat. My quilting group had a shopping day on the way to the retreat and I ended up spending the most money & all within the last few minutes in the cash line. It was purchased in Guelph from the Greenwood Quiltery when it was in it's old location. I was waiting for my friends to cash out and I saw the "Letters From Abroad" bolts of fabric on the low shelf by the cash. That was it...a quick decision to purchase meters of every bolt. I didn't know what I was going to do but I knew that it was Chris. I have been purchasing fabric over all the years to add to the quilt. The quilt is compiled of everything that Chris likes & of course...collects. Pens being number one, ink bottles, books, watches, clocks, stamps, old script, numbers, tins, travel...it's very eclectic.
I had no idea how I was going to put it all together but it was everything that he loved, right down to his favorite colour...green. Then I saw a quilt that my friend & fellow quilter, Heather Hunter, put together & it was called the "Yellow Brick Road" pattern. Well that was it...I decided that it was going to be done in that style. OMG...I was so completely bored with putting the quilt together that I could never muster up the time to put it together. I made all the blocks but the colours were all too similar and it just wasn't working...so back it would go, into the box to ferment in my brain. Then it happened, a dream, of a collaged rag quilt. So I got some bright colours of fabric to add to the fabric that I already had left over & started working on the  flip side making mini collaged quilts with all the left over fabric. To do a complete queen size quilt, I needed a total of 99 blocks. Holy crap...that was a lot of collages. Just like normal, I started out great guns and made all the collaged squares. Then they needed to have the stabilizer taken off them, which was a huge undertaking, and then they still needed to be individually quilted.
The GOE Group's last challenge was to finish a project that was already started & the only stipulation was that you couldn't purchase any more fabric. Well, I decided that this would be my next piece. I thought that I was near done. Well...my memory wasn't accurate because I ended up having 50 blocks to finish. I was determined that this was it. I was going to finish and I did. Each quilted collage square, took a minimum of 30 to 45 minutes to quilt. Quilting in a continuous, geometric square & rectangle pattern,  is not as easy as it may look.
Thank you Woodrow Studio, for giving me the inspiration with the "Letters from Abroad" fabric series. My husband loves his quilt.
Thank you Heather, for helping me with making the pattern choice. You had no idea what your show & tell would lead me to undertake.
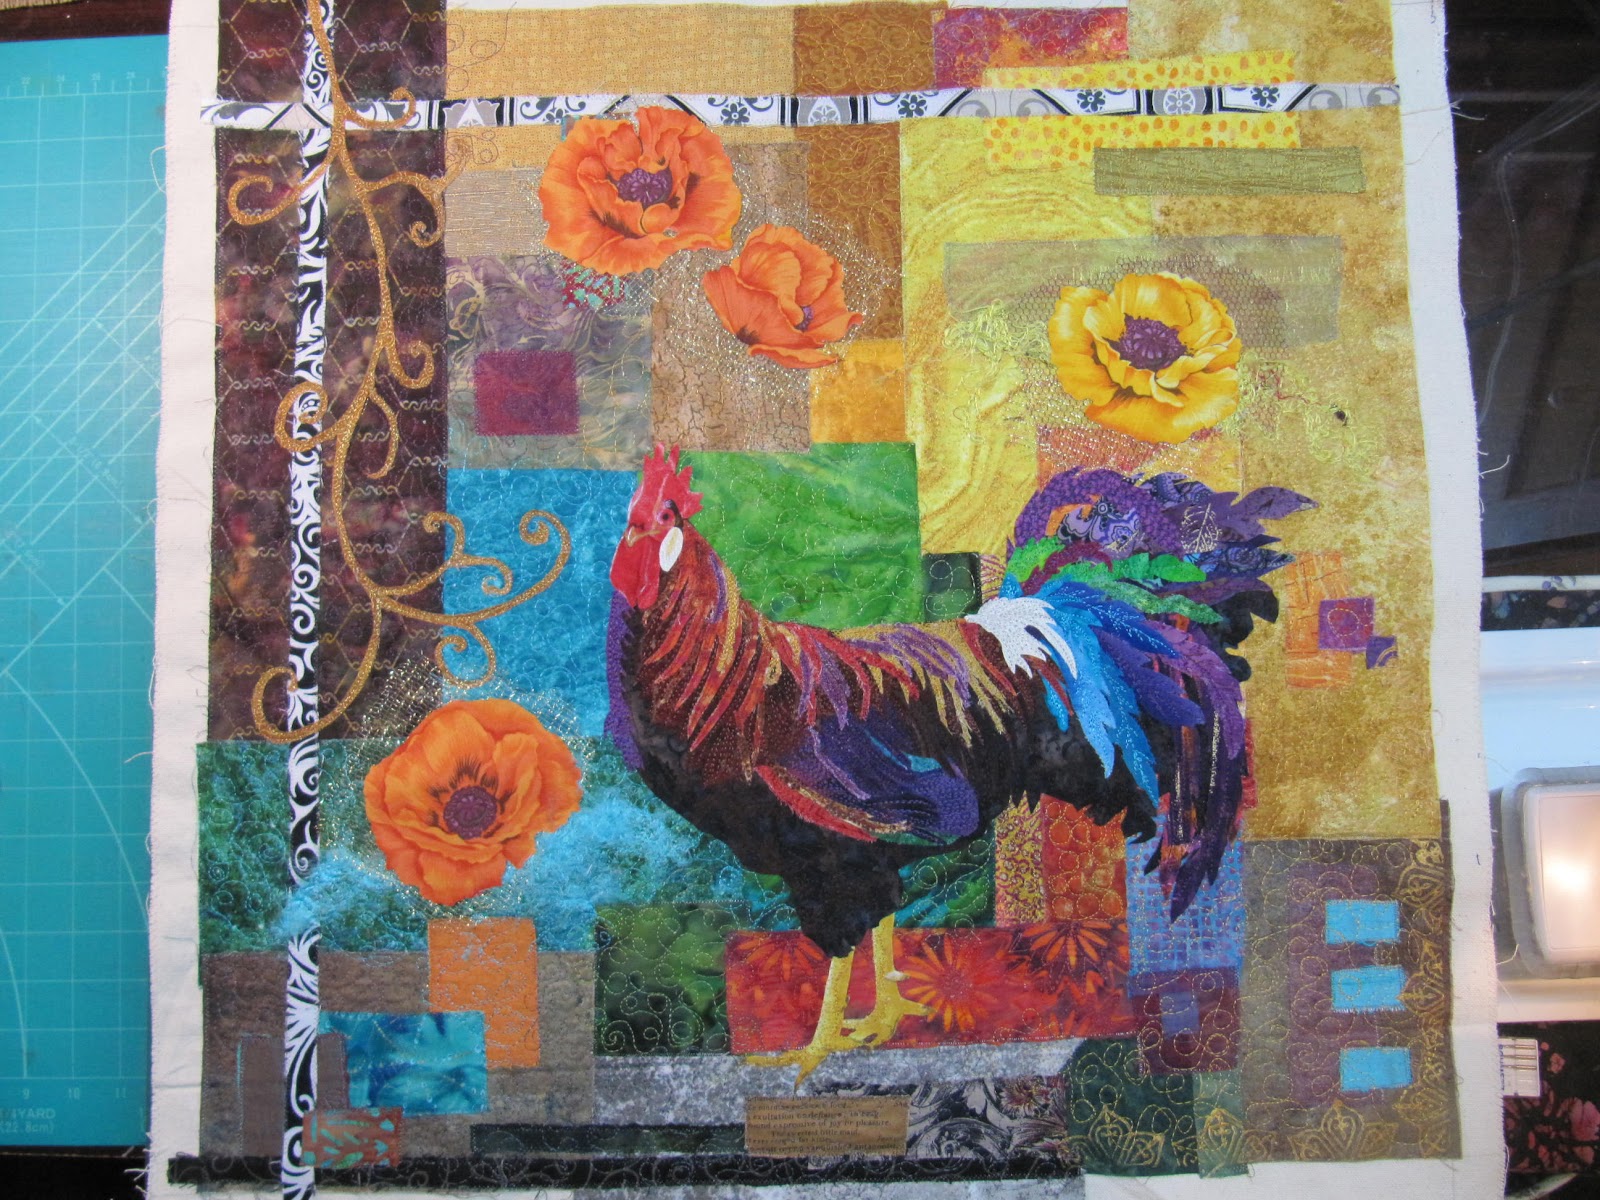
This is the collage side. As you can see the rag edges need to get worn in order to have the full rag effect. But that will come in time with wear & washing.

This is technically the right side in the Yellow Brick Road pattern.

Another shot of the collage side. The picture is actually upside down.

This shot shows a little of both sides.

Sunday, 15 April 2012

Poppy Cock

Poppy Cock has now been completely beaded. I have posted previously but I didn't have the painting done and the beading had not started.
Poppy Cock

Australian Opal's and the Wish Bone


Thursday, 5 January 2012

Poppy Cock

During the Christmas season I was temporarily blocked out of my studio in order to set up a bed for family coming home for the holidays. I have a real problem when I don't have my studio to turn to and subsequently I couldn't stop thinking about what I could work on the minute the studio was back to being open. I had 3 days in the studio and I wanted to make the most of it. On my design wall I had a 2nd background that I had pinned together when I was making "Cock of the Rock". I figured that this was a great place to start so down came the background for "Poppy Cock". It took me a full day to play and tweak it until I was happy.
During the tweaking period, I had my daughters transgender kitty wanting attention...smack dab in the middle of what I was working on. Of course I'm allergic to cats...so anyone that knows anything about cats...knows that this was par for the course.
It took me another day to quilt the background. I was having trouble with my sewing machine and it just wouldn't work with the gold metallic thread that I really wanted, so I had to make do with a gold coloured embroidery thread. Still ok but not exactly what I wanted. On the 3rd day I worked on the rooster. In this picture he has no legs and I really wasn't happy with his wing.
I painted his face...OMG...I was so happy with his face. During the delicate painting of his face I had a surprise...transgender kitty decided to jump on my back because I wasn't paying him enough attention. So there I was hunched over my rooster, pallet in one hand and brush in the other, thinking OMG, if kitty jumps down on my work surface...all those little LOOSE bits of fabric feathers...are gone. Then of course my back got all itchy from the claws that went into my back and I was done for the day.
I finished stitching down all the feathers, added his feet, touched up the legs with some paint and he was essentially done. So now I'm contemplating beading this piece like I did with "Cock of the Rock". I know I'd really like it to be beaded but it would take months of work before I was satisfied. So he's not totally done but he's done for now.

Saturday, 1 October 2011

Cock of the Rock

Cock of the Rock was my next Group of Eight challenge. One of the members brought rocks back from Arizona and the challenge was to use at least 5 of the rocks and 'Rock' had to be in the title of the piece. I knew that the next challenge was going to be a chicken of some sort. I'm in love with chickens and wanted the next challenge to incorporate something that I really wanted for my own. So I had no idea what the challenge was going to be but I did know that it was going to have a chicken in it. So when the challenge was issued I started my background and knew that I was going to do the rooster on a rock wall. When the background was complete I thought that it was too dark and made a second background. I posted both of the backgrounds on my design wall and decided that I would wait for the rooster to develop before I chose which one I would use. I actually went with the first one that I made originally....isn't that what we're always told...the first one is always the best.